
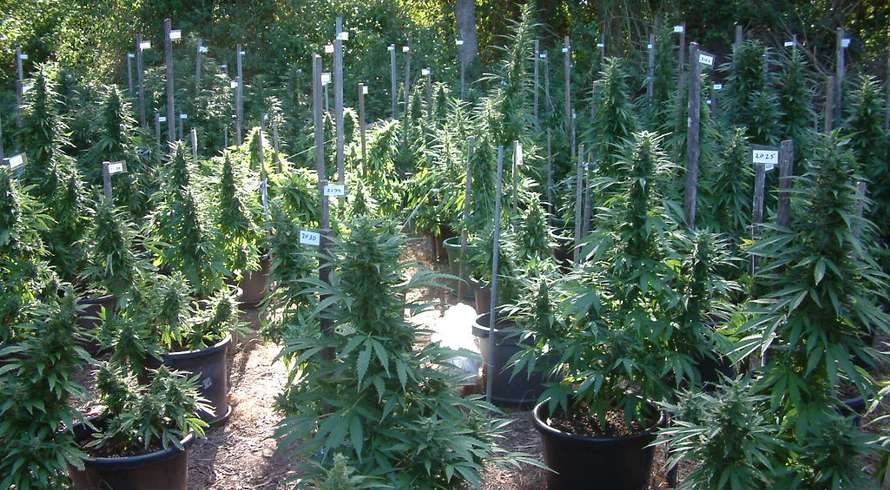
Beginners Guide to Growing Cannabis Outdoors – 8 Easy Steps!
Growing cannabis can seem like a challenge for some people. This beginner’s guide to growing cannabis outdoors will help you reach your goals. If you follow these 8 steps and can put some time into caring for your plants. You will learn how to grow cannabis outdoors.
You will come out with some amazing results and a feeling of accomplishment.
If you have any previous gardening experience it will be an asset to you. The basics when growing are all the same. If your just a beginner, no worries! Everyone starts somewhere!
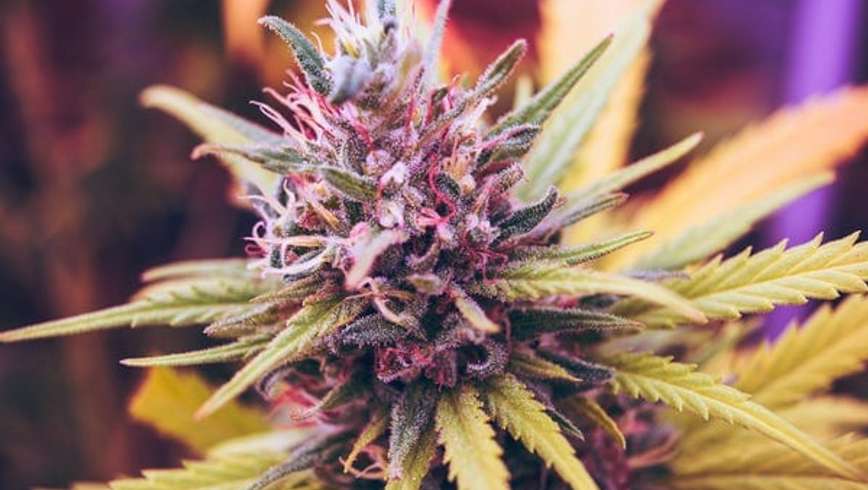
Purple cannabis plant with fully developed trichomes erecting from it.
Growing Cannabis Outdoors Guide Step 1: Environment
Before you even think of growing cannabis you need to choose a suitable geographical location for the crops. You need to learn and understand the weather and climate before you grow.
Cannabis is an adaptable specimen. Being known to grow in cold, harsh climates like the high altitude mountains throughout central Asia. This is where cannabis originated from.
The area you choose cannot be prone to extreme weather. Temperatures above 86 F (26C) are too hot for the plant. It will cause your plants to stop growing. Temperatures below 55F (10C) are too cold. This can damage the plant and stunt the growth. It can also lead to death in some cases. Constant heavy rains and strong winds can damage your crop and reduce the yield.
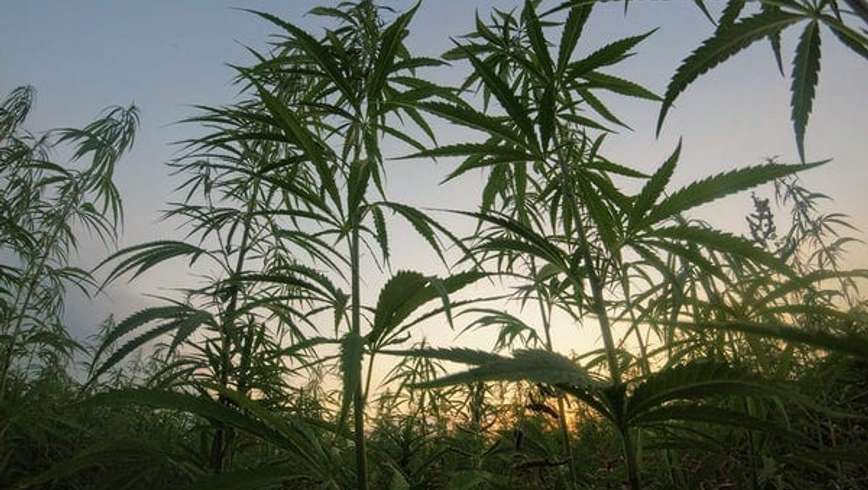
Growing Cannabis Outdoors Guide Step 2: Site location
When choosing the area for your cannabis garden you must keep in mind a variety of factors:
Sunlight: The cannabis plants need as much sunlight as possible. Best when the sunlight is directly shining down on them (midday). Once the days become shorter (season changes) and fall approaches, the plant senses this and starts producing flowers (buds).
Wind: In hot climates, a breeze is essential for cooling the plant down. Giving it room to breathe is a good thing. In strong wind climates, it’s best to protect the plants with a barrier. Barriers include; fence, wall, bushes, or anything that covers the sides but allows sunlight to hit.
Privacy: Hiding the garden and crops from unwanted eyes is crucial. You don’t want neighbours or potential crop hoppers to steal your harvest! Use large fences or shrubs to conceal the garden! Also wise to use pots so you can relocate if need be.
Security: Growers like to protect their crops. Some people use height to protect the crops, growing on rooftops and porches. Others use outdoor cameras, motion sensors and heavy-duty wire cage.
Animals: Animals can be a big threat to aswell. Having at least a small wire fence around the garden could save the harvest from unwanted critters. Rabbits and snails are known for eating the plants before they reach maturity.
Access to water: These plants need to be watered regularly. You must be able to access water to feed them.

cannabis plant erecting with trichomes
Growing Cannabis Outdoors Guide Step 3: Season
The season is one of the most critical steps when growing cannabis outdoors. Due to the sensitivity of the plant and the importance of the climate. The season you grow the cannabis can make or break the harvest. Start growing in spring.
The Cannabis plant has a life-cycle just like every other species. It grows tall during the spring and into the summer. About halfway through summer when the summer solstice has passed, the female plants start putting their energy into their flowers. These are the “buds” that you smoke.
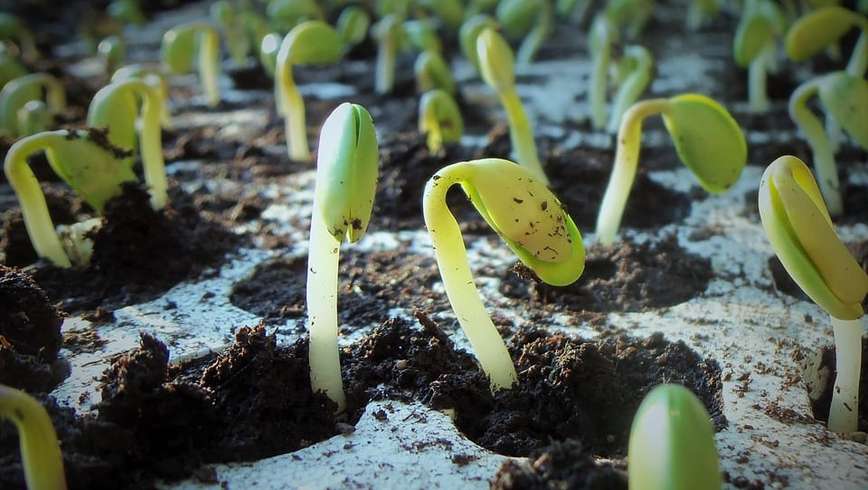
Cannabis sprouts growing out of the ground.
Depending on where you live the months will be different. In Canada spring starts in April, while in the USA its late March. Across the globe in Australia, Spring is in October.
After the summer solstice, days start becoming shorter and there is less sunlight. This triggers the female plants to start putting energy towards producing flowers ( smokeable buds). They sense the change in sunlight.
Step 4: Deciding a Strain
When it comes to the importance of your harvest, it all starts at the beginning, the seed of the plant. This sometimes overlooked step is critical when it comes to optimizing your yield. Specific strain genetics are grown and bred for certain climates and weather. There are s[ecific strains that are bred to be grown outdoors.
This means some seeds would flourish in your location, while others would struggle to survive.
Beginners are best suited to use feminized seeds. This means you don’t have to worry about removing males from the crop. Only female plants produce buds which are smokeable.
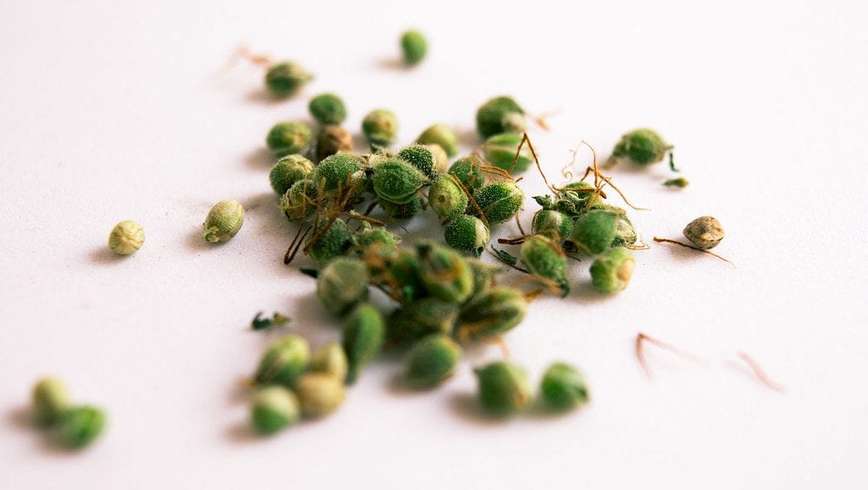
Cannabis Seeds
Autoflowering seeds are another great alternative when trying to grow cannabis for the first time. These seeds are pre-bred to produce flowers (bud) no matter what. They start producing flowers as soon as they mature. It doesn’t depend on the amount of sunlight or any external factor.
Here are a list of some of the best outdoor seeds:
Sour Diesel Haze Auto Feminised Seeds
White Widow Auto Feminised Seeds
Diamond Queen Kush Auto Feminised Seeds
Purple Mazar Auto Feminised Seeds
Seeds for High CBD and Low THC:
Purplediol CBD Auto Feminised Seeds
Tonic Ryder CBD Auto Feminised Seeds
Step 5: Germinating the seeds
You need to plant the seeds in the springtime. Letting them germinate and grow for the first couple of weeks of their life is essential for survival.
When planting the seeds, make sure you plant at least 50% more than you intend to grow. So if you want 10 plants, plant 15 seeds at least. Some seeds won’t bloom and some may die when young.
The beginner grower should leave the young plant to grow inside for at least 3-4 weeks. This ensures that external factors don’t impact your yield. Animals like rabbits and bugs like snails will eat small plants. This is very common.
Place the seeds on a window ledge or beside somewhere with sunlight. Once the plants reach a relatively stable size than its time to move them outside.
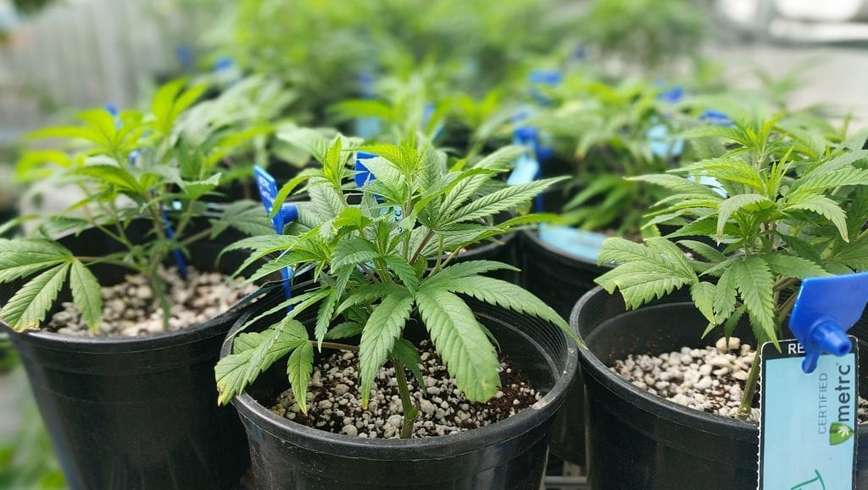
Cannabis seedlings
Step 6: Move the Plants Outdoors
Once big enough, it’s time to move the plants outdoors. Most people prefer growing in pots for many reasons:
They are more accessible
The plants are portable
Hiding them from unwanted eyes (security)
You can move them into the sunlight
Choosing the right size pot. It is known that the bigger the pot, the bigger the plant will be. Knowing this can help you determine what size pot you need. Most people agree that anywhere from 6-9 gallons is a good size to use.
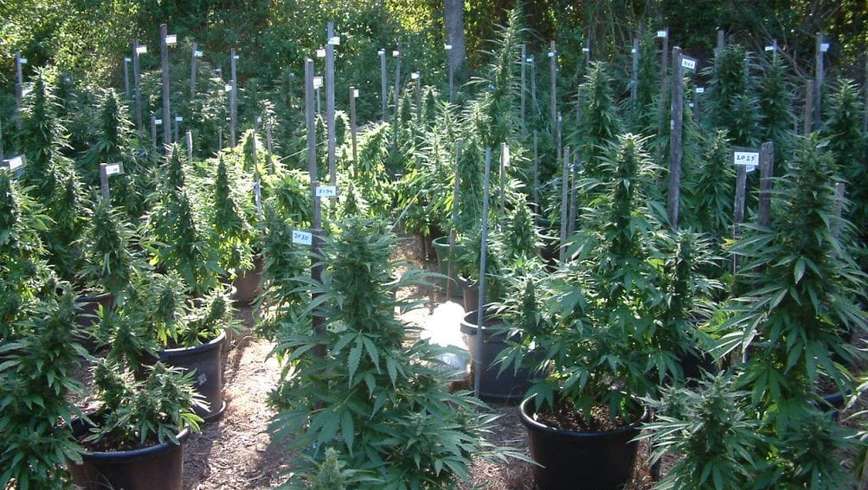
Cannabis plants in containers slowly maturing
Putting plants in a container is just a more convenient way of growing cannabis. You can relocate easy if need be and don’t have to dig massive holes. Also some people have no choice as the ground is rocky or too hard.
Growing cannabis in the ground can also be beneficial. The roots can expand to the distance they want. This allows them to suck up as much nutrients as possible.
Get Soil & Fertilizer
NUTRIENTS. Let me say this again. Getting the right soil and nutrients for your plants is essential. This is the “food” for your plants.
High-quality soil will give your plants the proper nourishment. Quality soil is a dark colour with fertilizer and perlite mixed into it. Little white clay balls are called perlite. They help keep the soil loose and allows oxygen to reach the roots of the plant.
Step 7: Water your plants

Cannabis Plant
You’re going to want to water your plants regularly and checking on them daily. You do not want to over water them but you also don’t wanna under water them. A good rule of thumb, check the soil with your hand. If it’s dry it needs water, if it’s cold then there is still water in it.
You must do this throughout the several months of growing. Without water, the plant won’t have a chance to survive.
Step 8: Harvest
You’re almost done! After about 4 -5 months of growing your plant is fully matured. Once the plant has stopped developing and the buds are large, it’s time to harvest.
The hair-like “stigmas” will have mostly turned brown when the bud is ready.
Its time to cultivate your cannabis. You need to dry them out before you smoke. After you trim and clean up the buds your all finished!
It should look something like this:
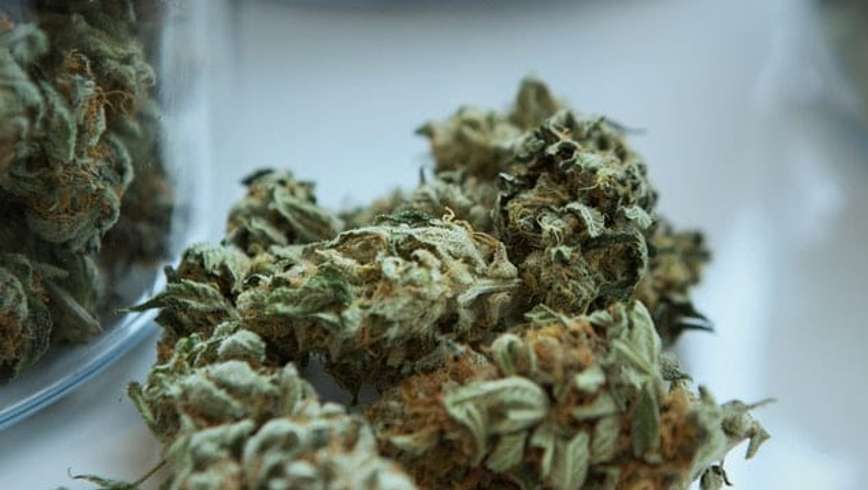
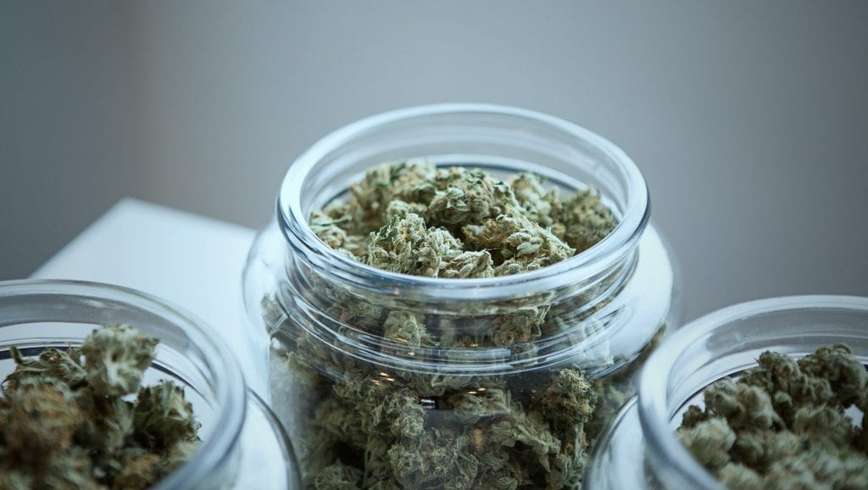
Trim the buds relatively short to keep the potency consistent through your yield.

Jake Randall is a journalist, author, and University of Guelph Alumni with expertise in all things cannabis, along with knowledge in economics, the environment, and everything in between. Originally from just outside Toronto Canada, Jake has taken on the role of a senior cannabis correspondent at The Cannabis School.
Add a comment
This will be publicly visible.
Your email address will not be published.
Your comment will be reviewed by the admin before it is published.


